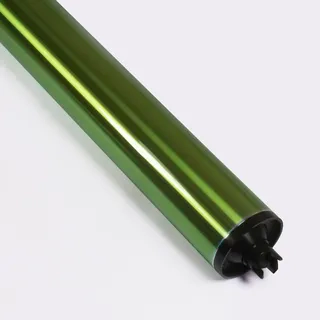
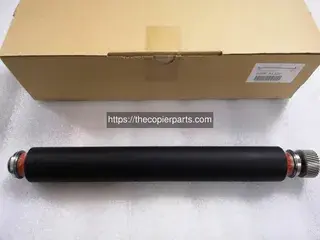
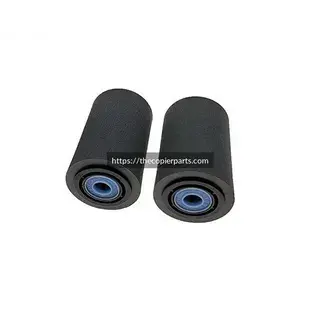
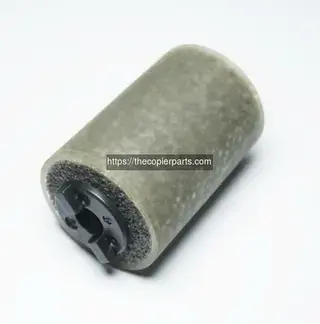
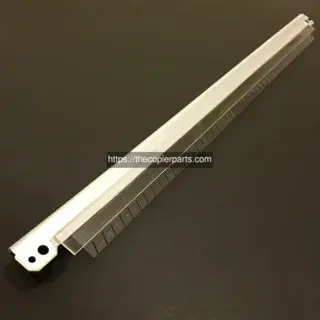
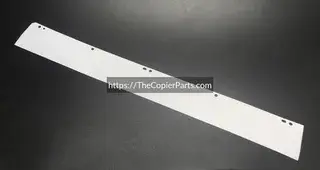
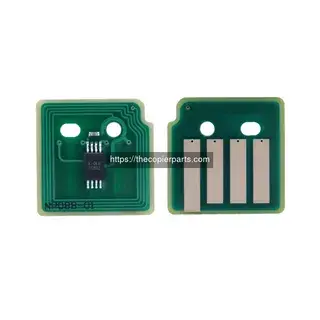
A step-by-step guide on installing the fuser belt for your Xerox Versant 2100 Press fuser unit, for purchasing the belt, please visit: https://thecopierparts.com/xerox/versant-180-press/fuser-belt-tcppart342-ksn342
What You'll Learn
- Step-by-step guidance for proper installation of the Fuser Belt on your Xerox Versant 180 Press
- Common mistakes to avoid during the replacement process that could damage your equipment or cause poor print quality
- Tools and preparation needed before you start working on your machine
Prepare your workspace
Clear a clean, well-lit area. Power off the machine completely and disconnect it from the power source. Gather all necessary tools — screwdrivers, gloves, cleaning cloths — before you begin. A disorganized workspace is the most common cause of lost screws and misaligned parts.
Follow the correct sequence
Watch the video in its entirety before picking up a single tool. Then follow each step in the exact order shown. Skipping ahead or reversing the sequence can lead to misaligned parts, stripped screws, or damage to sensitive internal components.
Inspect before installing
Check the new Fuser Belt for any shipping damage or defects before removing the old part. Look for bent pins, cracked housings, or loose components. If anything looks off, contact our support team before proceeding — we'll replace it at no cost.
Test after installation
After completing the installation, reconnect power and run a test print/copy cycle. Listen for unusual noises, check for error codes, and verify output quality matches expectations. Run at least 5–10 test pages before returning the machine to full service.
Is this video specific to my Xerox Versant 180 Press model?
Yes, this guide covers the Fuser Belt installation for Xerox Versant 180 Press specifically. While the steps are often similar across different models within the same brand, always verify your exact part number before proceeding with any replacement. If you're unsure, contact our technical team with your machine's serial number.
Do I need special tools to install the Fuser Belt?
For most copier and printer parts, standard Phillips and flat-head screwdrivers along with basic hand tools are sufficient. The video shows exactly which tools you'll need for this specific replacement. No specialized or proprietary equipment is required for standard installations.
What if my part doesn't match what's shown in the video?
The Fuser Belt may have slight cosmetic variations between manufacturing batches while remaining functionally identical. Connector positions, screw holes, and mounting points should match exactly. If you notice significant differences or are unsure about compatibility, contact our technical team with your machine's serial number for verification before installation.